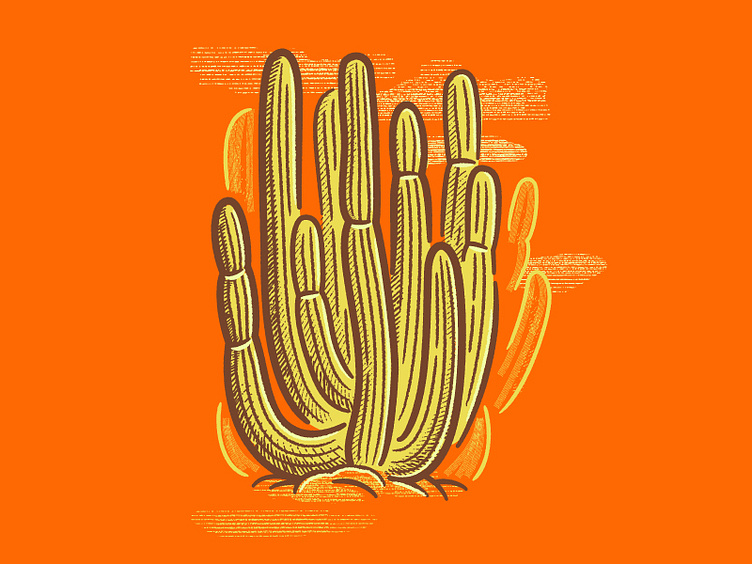
[MINI-TUTORIAL] How to Make a Hand Drawn Cactus in Illustrator
✏️ [TUTORIAL] How to Create a Hand Drawn Cactus in Adobe Illustrator
Step One. Create long oval like shapes to build out the basic shape of the cactus. For something as simple as a cactus you could easily draw this outline with your Pen Tool, Brush Tool, or Blob Brush.
It's helpful if you have some examples of cacti open on part of your screen to look at for reference as you draw.
Step Two. Use the Cross-Country Crosshatchers to add the spines of each section of the cactus (you can purchase the crosshatching brushes on www.retrosupply.co).
Or you can just draw rough lines. Keep them perpendicular to the lines of the cacti and make sure the stroke isn't as thick as the outline.
Step Three. Next, choose one of the 200+ Cross-Country Crosshatcher brushes to shade the left-hand side of each oval. This would typically be pretty time consuming, especially in Illustrator. But the crosshatching brushes allow you to add elaborate lines for shading with a single stroke on each section of the cactus.
Step Four. To create the ground and clouds around the cacti choose one of the 40+ Cross-Country Crosshatcher swatches and draw in the shape of clouds and the ground with the Blob Brush (or your chosen tool of choice).
Easily select different hatching patterns if desired to find your ideal texture.
That's it! Hopefully, this short little tutorial was useful :)
Buy Cross-Country Crosshatchers now
Illustration by the talented and awesome @Alana Louise
