Squaid INK - ENERGY DRINK - Animation
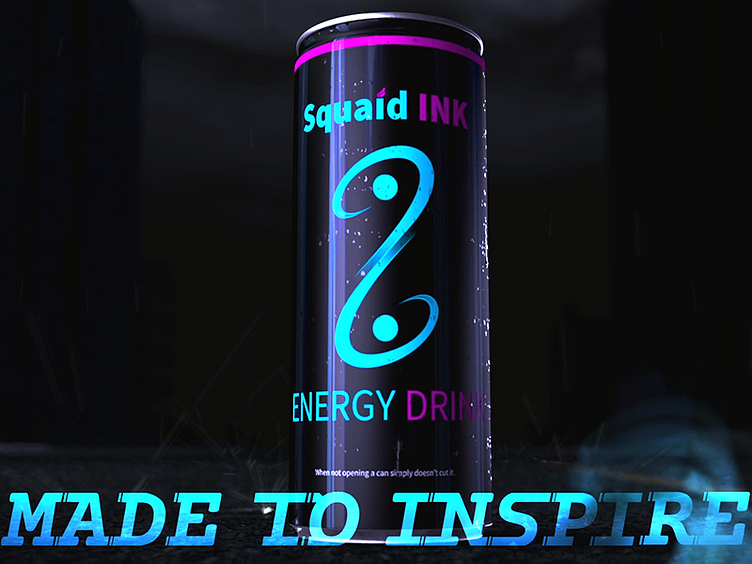
It's finished! Took me a while so sorry if I've been quiet :3
https://www.youtube.com/watch?v=VREZngEUS4g
Alright... The process I've gone through over the past 2 weeks. 1. Sculpt a soda can in Zbrush with 8 million poligons. 2. Import it into blender. 3. Texture it. 4. Realization. It doesn't work, it's too laggy and texturing 8 million poligons is practically impossible.
5. Scuplt a can in blender instead, using far less poligons, around 2000. 6. Texturing it. 7. Realization. Even 2000 poligons is pushing it if you want an animation. You can use subdivisions instead.
8. Sculpt a third final soda can in blender, this time making use of subdivisions I could narrow it down to a whopping 200 vertexes. 9. Texture it for 2 days, looks okay but it doesn't reflect... Hmm... 10. Realization. I am using an outdated engine within blender, switch to blender cycles, and retexture everything.
10. Build an entire city in blender, texture it loosely. 11. Add cameras and camera rigs to record the can from a realistic perspective. 12. Make extremely detailed asphalt texture using height maps, and figuring out how to not use 8 million poligons again to slow down the animation. (I had to cheat a bit by flattening some areas further away. 13. Add lighting. 14. Realization. The lighting against the road needs to be much lesser than the one on the can, or shit looks fucked.
15. Redo lighting, use objects that glow instead of lamps, put everything on different layers and exclude the road from the glowing items that the can uses, then overlap the images to create one final render. (takes forever but is worth it...) 16. Created rain in blender. 17. Realization. It's better and easier to add post-rendering (after the animation is rendered), so scrap that.
18. Render the footage, took 10 hours. 19. Add it to photoshop, cut the footage, edit it, check if it's right. 20. Realization. My second screen has different colors than my primary screen, so the colors are off.
21. Go back and adjust the colors. 22. Re-render, everything this time (took 50 hours and I couldn't use the computer, was thourougly depressed during this time). 23. Go into Premiere Pro, cut the footage, color adjustments, render (20 minutes thank God). 24. Import it into After Effects, add the rain like I thought. Took one day. 25. Adjust the ground plane for literally days so that it looks like the rain is hitting the ground. 26. Realization. The motion tracker in after effects is 100% garbage.
27. Post on a forum for help. They were very kind and responded "Just use the camera rig from Blender". 28. Exported camera rig and planes from Blender and imported into After Effects. 29. Animate the rain. 30. Color adjustments and particle motion effects added. 30. Realization. The particles ignores the soda can and splashes against the simulated asphalt as if it weren't there.
32. Mask the soda can over 340 frames (much harder than you could think). 33. Apply the mask to the rain. 34. Find and add rain sounds. 35. Realization. The rain sounds like something is hitting the can, not matching the footage at all.
36. Individually draw every drop hitting the can. 37. Adjusting the speed of the footage to speed up and slow down, and then scrapping it. 38. Individually draw a lens flare to go around the rim of the can at the end. 39. Animating it instead.
I have literally learned sooooo much on this journey. Like... I had no idea, no clue what so ever. I guess this is why people are paid so much for stuff like this. I wouldn't be anywhere without youtube videos tbh.
