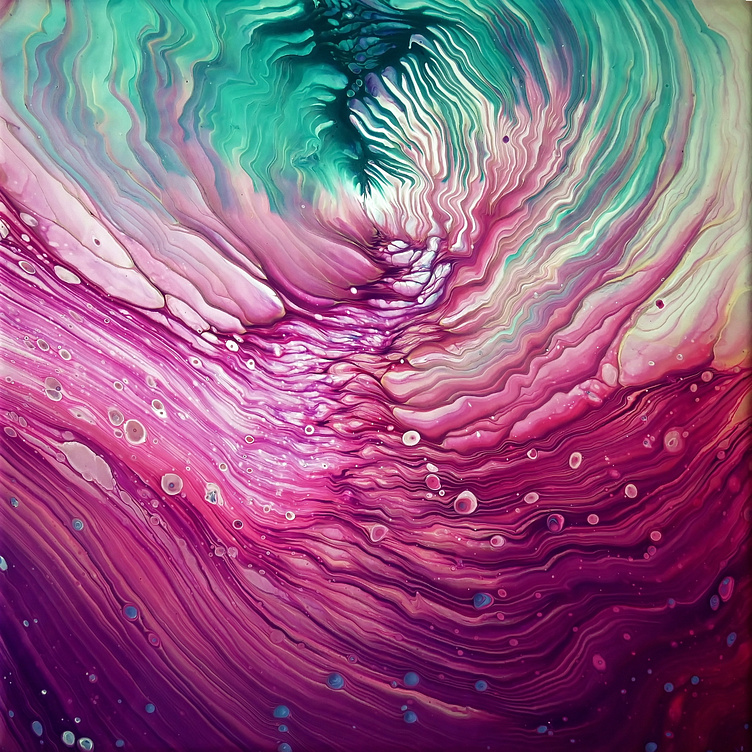
Mesmerizing Acrylic Straight Pour: Stunning Turquoise, Purple...
Video: https://youtu.be/HhUAY83u4ak?si=-QDg3Uwgo5Mc_IaT
Join for more benefits:
https://www.youtube.com/channel/UCrFjmXnRujuOmZX6uX1l3SQ/join
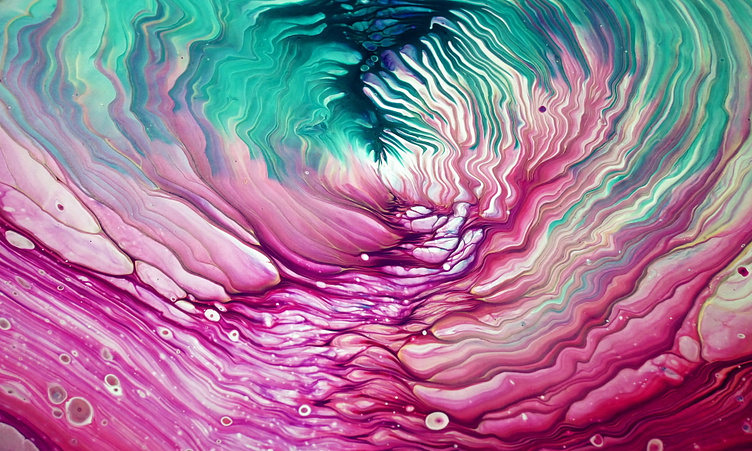
Enter yourHello from Slovenia again! One of the most captivating and easy techniques in fluid art is the straight pour, which involves layering different colors of paint into the cup and pour them directly onto the canvas. The result is a stunning display of colors that blend and interact in unpredictable ways, creating a unique and mesmerizing artwork. In this tutorial, I will show you how to create a straight pour painting using turquoise, purple, and pink acrylic paints. These colors complement each other beautifully and create a vibrant and harmonious contrast. You will need the following materials: - A canvas of any size - Acrylic paints in turquoise, purple, and pink - A pouring medium (such as Floetrol or any other pouring medium) - Plastic cups and stir sticks - A drop cloth or plastic sheet to protect your work surface - A torch or heat gun (optional) Step 1: Prepare your paints The first step is to prepare your paints by mixing them with the pouring medium. The pouring medium will thin the paint and make it flow better. You can use any brand of acrylic paint, but I recommend using high-quality paints that have a high pigment concentration and are not too watery. To mix your paints, follow these ratios: - 1 part paint - 2 parts pouring medium Stir each cup well until the paint is smooth and has no lumps. The consistency should be like warm honey or melted ice cream. If the paint is too thick, add some water. If it is too thin, add more paint. Step 2: Pour your paints The next step is to layer your paints into the cup. You can use any pattern or order you like, but we suggest starting with the white paint and then alternating between the turquoise, purple, and pink paints. To pour your paints, hold the cup close to the canvas and spin it slightly, letting the paint flow out slowly. You can move the cup around to create different shapes and effects. Step 3: Tilt your canvas Once you have poured all your paints, you can tilt your canvas to spread the paint and create more movement. Hold the canvas by the edges and gently tilt it in different directions, letting the paint flow over the sides. Step 4: Torch your painting (optional) The final step is to torch your painting with a torch or a heat gun. This will pop any air bubbles in the paint and create more cells. Hold the torch about 6 inches away from the canvas and move it quickly over the surface, avoiding staying in one spot for too long. Step 5: Let your painting dry Your painting is now done! All you have to do is let it dry completely before you display it or seal it with a varnish. Depending on the thickness of the paint and the humidity level, this can take anywhere from 24 hours to several days. Make sure to keep your painting in a flat and level position while it dries, away from direct sunlight and dust. And here you have it! I just created a mesmerizing acrylic straight pour painting using turquoise, purple, and pink colors. I hope you enjoyed this tutorial and learned something new. Feel free to experiment with different colors and techniques to create your own unique artworks. text here...