Male Face Retouch

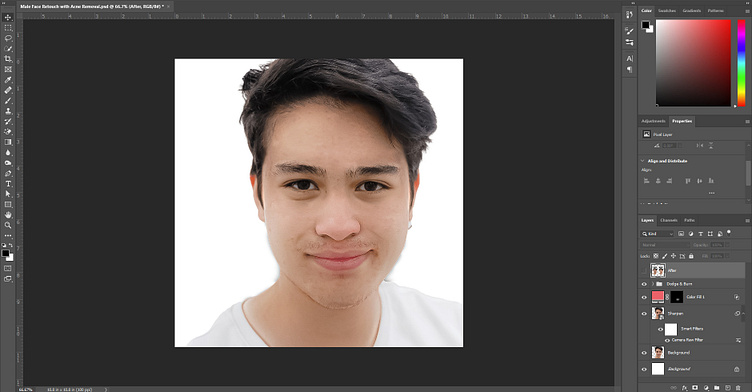
Male Face Retouch & Acne Removal Photo
Step 1: Open the Image
Open the image in Adobe Photoshop.
Step 2: Duplicate the Layer
Right-click on the background layer in the Layers panel and choose "Duplicate Layer." This is a good practice to keep the original image intact.
Step 3: Spot Healing Brush Tool for Acne Removal
Select the "Spot Healing Brush Tool" from the toolbar (J).
Adjust the brush size to match the size of the acne or blemish.
Click on each acne spot to automatically sample and blend the surrounding pixels.
Step 4: Healing Brush Tool for Larger Areas
If there are larger imperfections, use the "Healing Brush Tool" (J).
Hold the "Alt" key and click on a clean area to sample, then paint over the imperfection.
Step 5: Softening Skin with Gaussian Blur
Create a new layer (Ctrl + Shift + N) and name it "Blur."
With the new layer selected, go to Filter > Blur > Gaussian Blur.
Adjust the radius until you achieve a subtle smoothing effect. Be cautious not to overdo it; aim for a natural look.
Step 6: Add a Layer Mask
Click on the "Add Layer Mask" icon at the bottom of the Layers panel.
Use a soft brush with black color to mask out areas where you want to preserve detail, like eyes, eyebrows, and lips.
Step 7: Dodge and Burn for Highlights and Shadows
Create a new layer and set the blending mode to "Overlay."
Use the "Dodge Tool" (O) to lighten highlights and the "Burn Tool" (O) to darken shadows.
Adjust the exposure as needed.
Step 8: Adjust Colors with Hue/Saturation
Create a new "Hue/Saturation" adjustment layer.
Adjust the sliders to enhance or tone down specific colors.
Step 9: Final Touches
Fine-tune any remaining imperfections.
Adjust overall brightness and contrast if necessary.
Step 10: Save and Export
Save your Photoshop file for future edits and export the final "PNG" image
