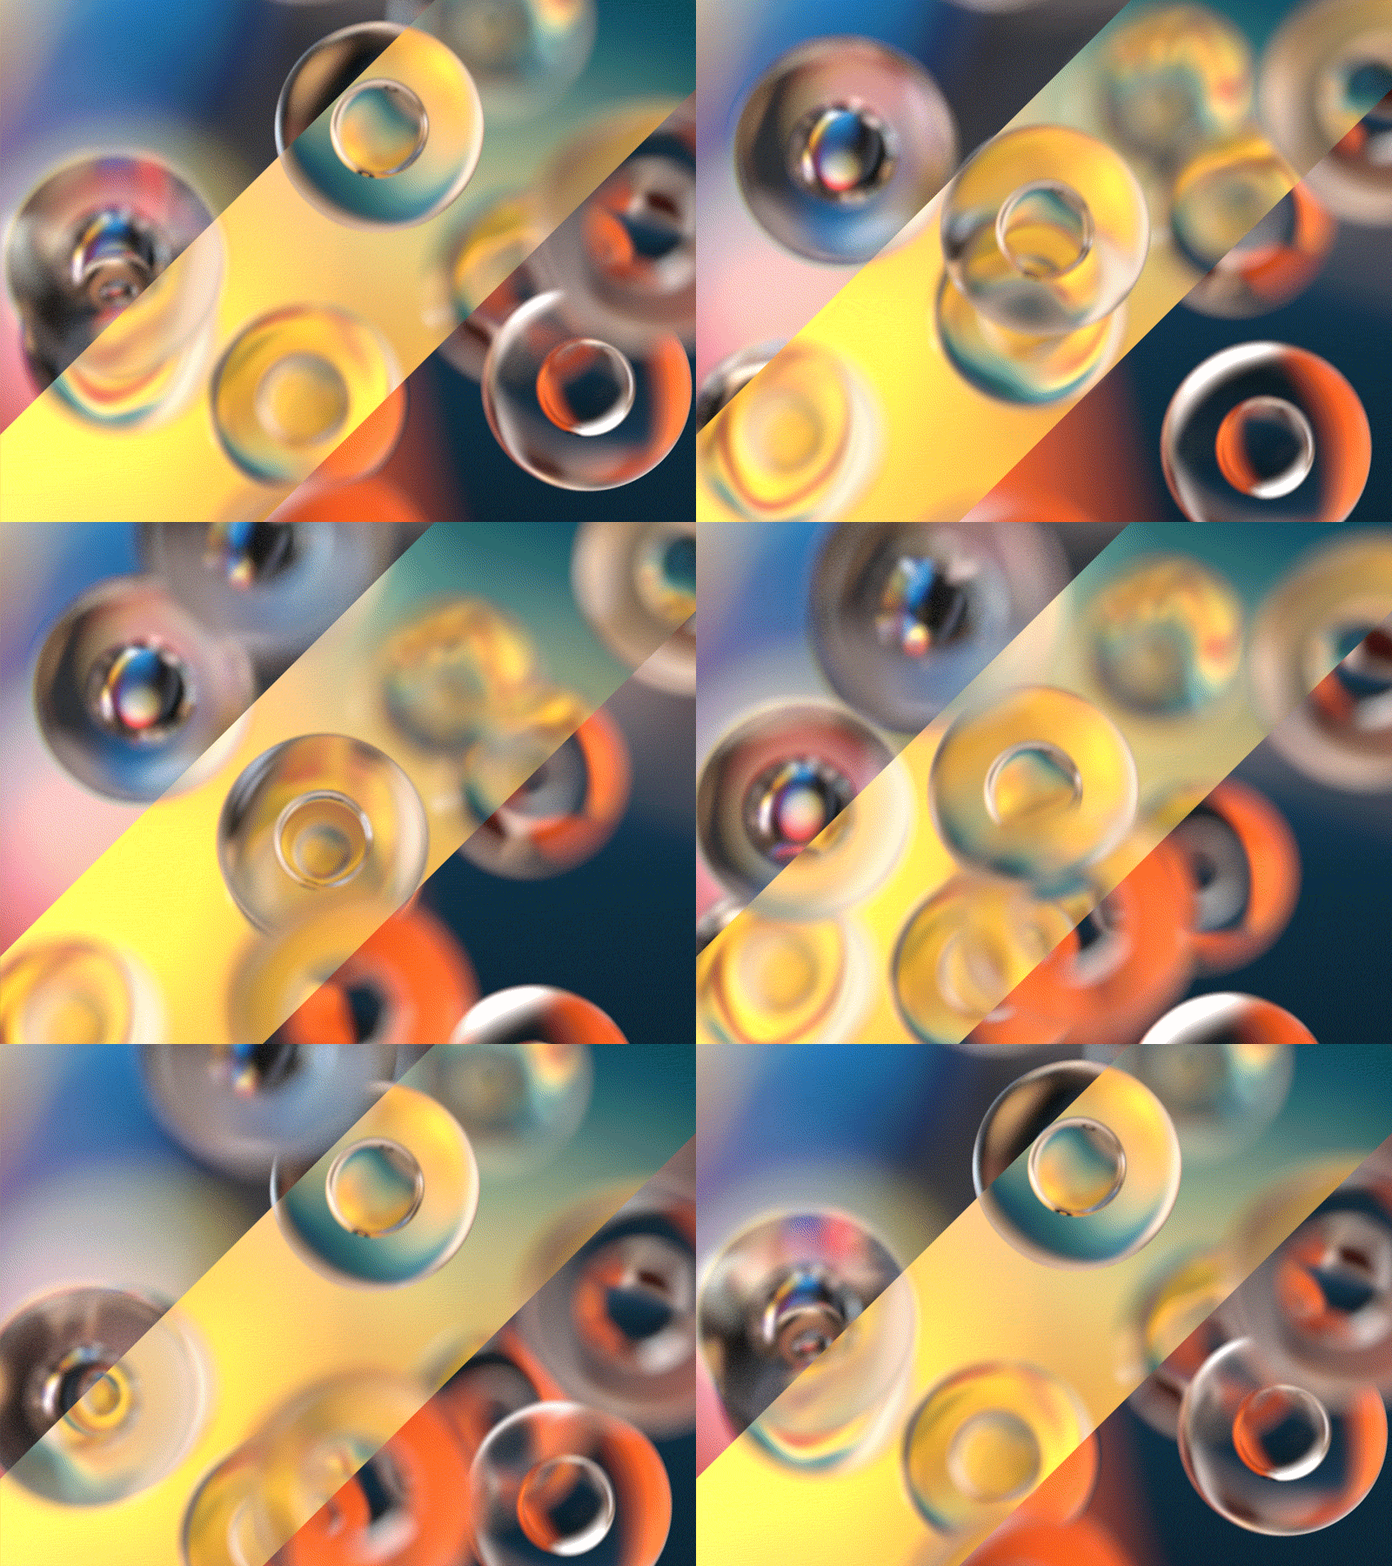
A Study in Image Based Lighting via Cell Phone Photos
See all 5 high resolution animations and their environment maps at the Imgur gallery: http://imgur.com/gallery/osHn0/
Summary: You don't need perfect images or HDRI spheres to create amazing lighting in your 3D renders. Go ahead and use your cell phone camera to capture an environment at the spur of the moment if you love the light that you're seeing.
----
The other day, I came across a killer tutorial by Gleb Alexandrov titled "Are You Overlooking This Way to Make Amazingly Complex Lighting?". I was instantly inspired. While I loved the output he was getting from this technique, I had a problem with this approach. His technique would be incredibly computationally expensive, so I thought about how I could adapt it into my workflows for animation.
Gleb's Tutorial:
http://www.creativeshrimp.com/amazingly-complex-lighting-tutorial-book-14.html
Gleb's phrase "Lose control and let the light do its magic" stuck with me. Eventually, I kinda... took the idea in his article and turned it inside out. One of the themes he repeats through his tutorials is to make sure that your light sources are non-uniform and complex. Suddenly, it came to me. "Holy crap. I can take out my phone and take some totally imperfect photos of places with lots of color, and use those as my world light! The PHYSICAL WORLD has already done all of the magic in producing a 'lighting symphony' for me, so I can just take that light and use it at my desired angle!" So I downloaded the Google Camera app for my phone and produced some super quick and dirty photospheres of interesting lighting scenarios to play with. You will notice that the stitching on the maps is TERRIBLE, but that is just fine for these purposes. I also selected some images which I had taken with my phone's camera just because they were colorful. The emphasis here is that we DO NOT need perfection in the images, only their color, non-uniformity and complexity!
Google Camera photoshpere app:
https://play.google.com/store/apps/details?id=com.google.android.GoogleCamera&hl=en
In his tutorial, Gleb talked about flying your camera around within the scene to find your desired lighting angle - but what if I already had my camera and geometry composed in the way that I want for my render? That's when I had the idea to shift and distort the generated coordinates of the world sphere until the world light gave me the colors I wanted for the existing composition. Yes! Then I only needed to adjust the depth of field in my camera so the subject matter was in focus, but the background was out of focus! That way, the viewer is not concerned with any of the imperfections background light source. So I created several different renders using different world lighting configurations, with single camera and subject matter configuration. I was incredibly pleased with how AMAZING the results were! Now keep in mind, these environment images were NOT directly mapped to the world light with a standard Equirectangular projection. I took the base world coordinates and moved, rotated, scaled them until I saw the colors in the positions that I wanted to see them. In some cases I tweaked their contrast and hue a bit, then boosted the intensity of the world light into what I wanted to see.
Here's the important lesson that I learned from this experiment: You don't need to create the perfect HDRI sphere or tile an image perfectly to get a perfect lighting scenario for your shot. Just find a real world scenario with colors that you like, and snap a super quick picture or build an image sphere with your cell phone camera, and that is more than good enough.
Alright! Give this quick and dirty cell phone photo lighting a try in some of your renders, and let me know how it works out for you! If I get 10 or more responses relevant to the techniques discussed in this post, I'll record a video tutorial on creating a scene in Blender with this process. Let me know if you have any questions on this, okay?
