InBrief: Book Summary App
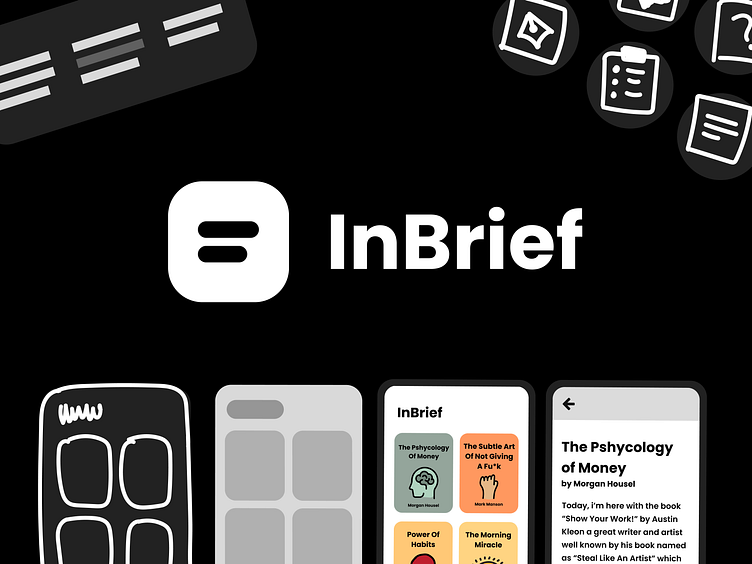
For the past few months, I’ve been working on my side project which I created for my graduation project submission. I read non-fiction books, and every book reader knows that when you recommend a book to someone, they first ask you to tell them a brief summary about that book, the best thing you can do is to suggest a good book summary app.
InBrief is one of the Book Summary Apps which explains the book in brief, so that gives people a brief introduction about that book so that they can buy or read the full book if they like anything from the summary.
In this Case Study I'll be sharing my design process on how I created InBrief from an idea to a real-world app, so without any delay let’s start..
My Design Process
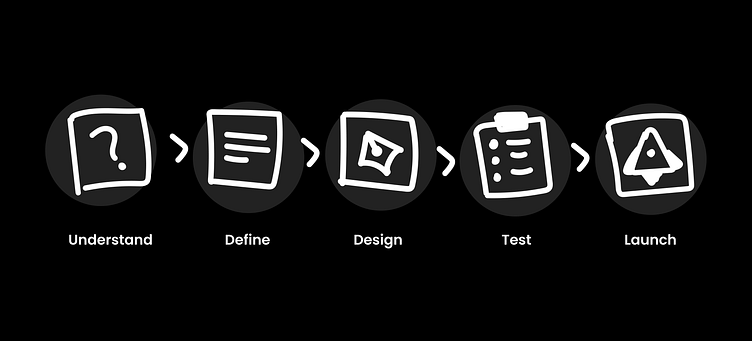
I follow the basic design process where first I understand things about the industry and users, then I define what I like to use or not, then design the app interface, testing the prototype with real users or devices to check if the design actually works, then launching it for the world. Let’s understand all the steps one by one which will be best for understanding.
1. Understand
First, Understand what you’re making or wanted to make, how the Industry works, what things people like about the summary app what doesn’t, watch videos, read articles, etc. to understand what people think about summaries.

1.1 Understanding Industry
Understanding industry or competition gives you a clear picture of what you wanted to create and what things users love in the book summary app, it gives you an idea of how your app will look.

1.2 Understanding User
You can perform 2 types of research for understanding users, first, by interviewing the user directly i.e. Primary Research, and second, by using the existing research that already exists on the internet done by others i.e. Secondary Research, During this project, I don’t have enough budget so I use the existing reach sone by others.

Define
Once you’ve completed your research and understanding phase the next step is to define all the best things you wanted to add to the app and the user journey app to define how the user will flow through the app or how the user will get to your application.
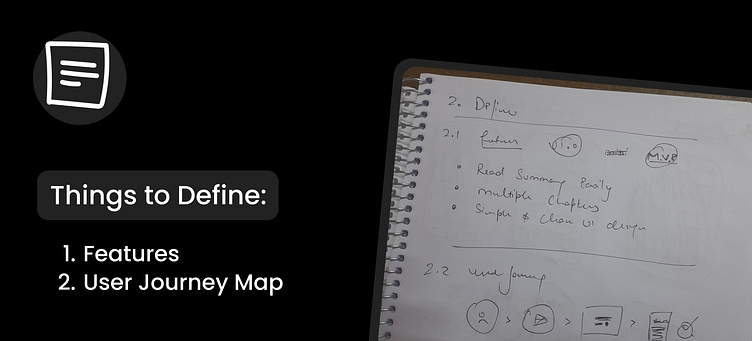
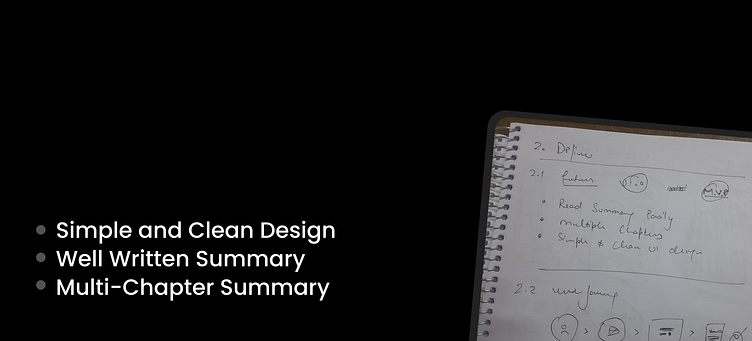
2.1 Features
Define all the features you wanted to add according to the understanding of your user’s need and want, for this project as it’s an MVP and a version 1.0 I choose very limited features for it c. show different books with multiple chapters so that he can get a brief introduction to the book.
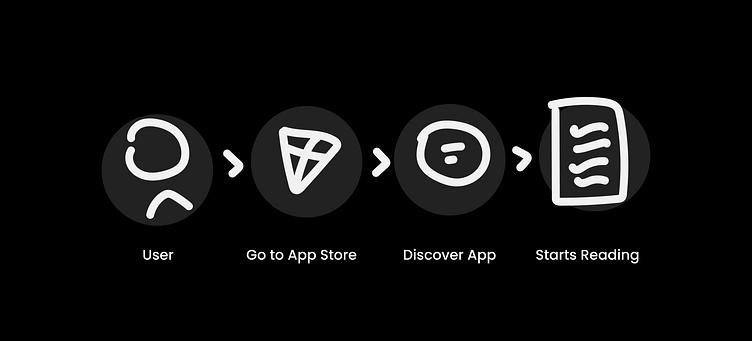
2.2 User Journey
Then, I define the user flow of how a user will understand or learn about my app and how will a new user will get to the app and read the book summary, the above diagram is one of the journey maps of the InBrief app.
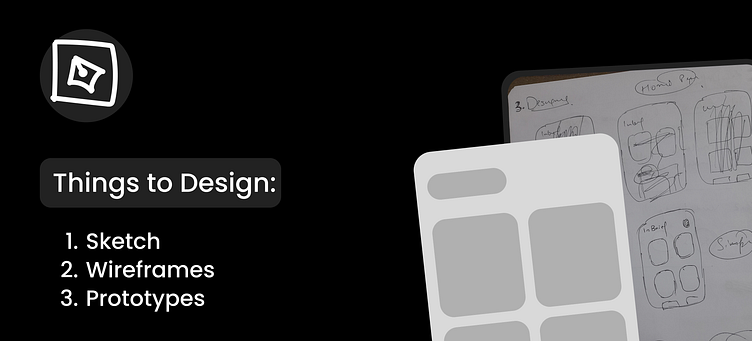
3. Design
After defining the features and user journey map, let’s start making the design. I first start sketching on the paper and tablet, then I start making wireframes and then the final design and prototype to see how things will actually work out.
3.1 Sketching
Sketching is great, I prefer paper sketching rather than digital sketching because it gives you a lot of freedom, and designing on paper is so effective, I have a notepad for that. Sketching helps in choosing the right pattern or layout for your interface that's easy and simple.
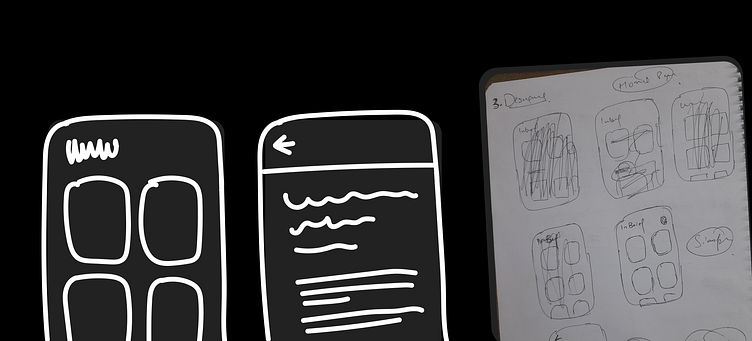
3.2 Wireframing
After sketching I convert my paper art into wireframes or to say Low-Fidelity wireframes where you just have to describe your layout by using boxes and lines, this is simple and effective for the next step..

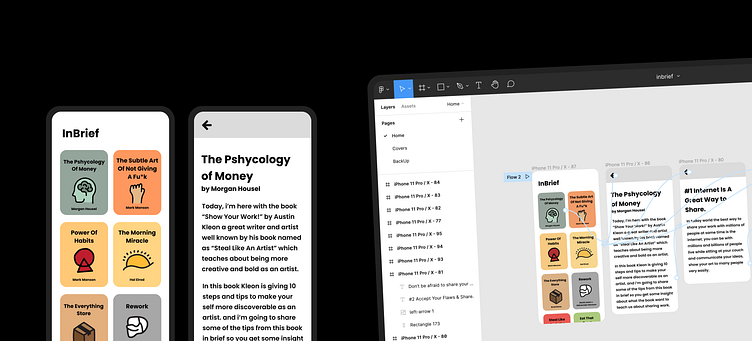
3.3 Prototyping
Prototyping and High Fidelity designing is the last step in the process of designing where I have to give the final touches to the UI design. Prototyping is one of the fun steps where I’ve seen what the actual app will look like.
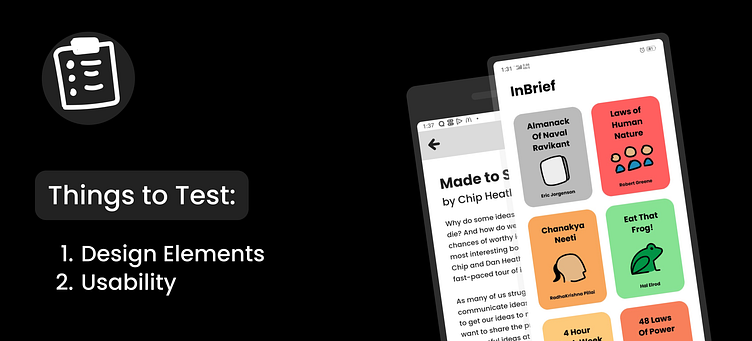
4. Test
Now the most important part of designing, testing the design with users or founders, and owners. In this case, I’m the owner so tested the design on my own by running it on various screens using the Figma mirror app.
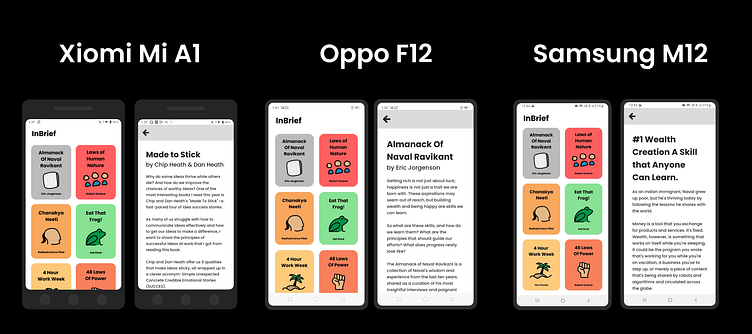
4.1 Testing on Devices
These are some of the screenshots I've taken during the testing phase, it shows how my design adapts to the screens of various phones.
5. Launch
The most exciting and hard step, launching the product into the space of the internet where you’ll see how the product actually performs, but to do it you’ve developed it or coded it, then design the thumbnails for the play store, Logo for your app, etc. let’s see those steps one by one.

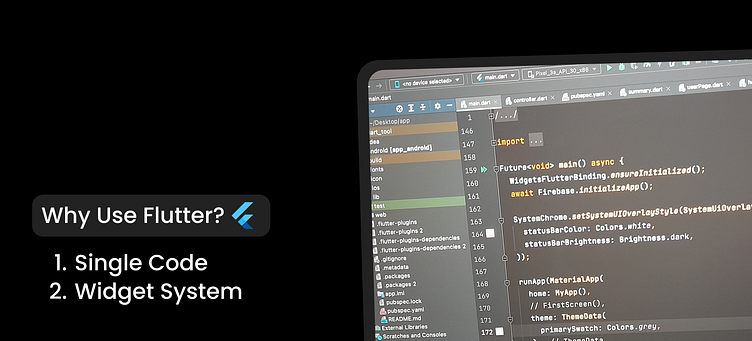
5.1 App Development
I used the Flutter SKD kit by Google that uses Dart programming, and the main reason to use it is that with a single code I can create windows, mac, iOS, and Android apps and as a single creator this is a miracle.
5.2 Logo Designing
Next, Logo creation, to make a logo for the app that is simple and clean, and easy to understand I looked a lot on the web and then come up with the idea of using two text lines which is the shorter version of the icon of the paragraph.
It looks great and by rounding the edges I’ve created a logo that is simple and very easy to understand.

5.3 Play Store Listing
Last and the Final Step Uploading the app to the PlayStore, where I’ve designed my own app carousel screen, added the icon, the ABB file of the project and then after a week my app get approved, and now I have 50+ downloads and still a long way to go.
Install Now: https://play.google.com/store/apps/details?id=co.inbrief.app

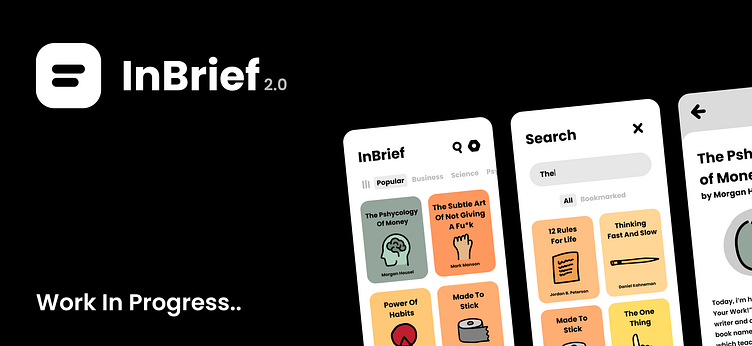
Version 2.0
I’ve worked on my next design updates, with some of the updates in both design and usability of the app, currently, it is in development but soon it’ll be out so to see the update make sure you’ve installed the version 1.0 in your devices, and Be a part of something awesome.
Thanks for Reading. Like, Share, Follow for More Updates on this Case Study.
