Portraits — My Process
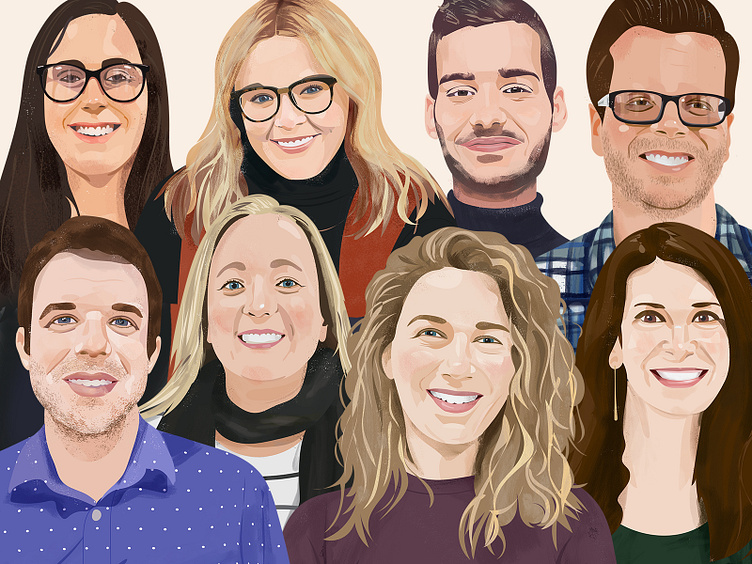
I had the privilege of illustrating these headshots for High10 Media, one of the top PR firms in New York. Here is a quick breakdown of my process.
I always start with a photo delivered by the client.
Base Shapes
I change the photo to black and white before I start drawing in Illustrator. It is easier for my brain to focus on the structure (without having to think about color) in this first stage.
With the black and white photo on a separate / locked layer, I draw the initial shapes with the pencil tool. I use the Astropad app to mirror my desktop computer so I can draw in Illustrator, right from my iPad.
As I’m drawing I start from the back of the person and work my way to the front. For example, when I get to the eyes, I will start with the white of the eye, then the iris, pupil, lids and then eye lashes — back to front. I’m turning layers off and on as I’m drawing so I’m always staying true to the original portrait.
Color
The next step is to drop a color corrected photo into Illustrator and use that as a reference as I start adding color to the black and white shapes. Using the eyedropper tool isn’t effective for me so I have to interpret the color somewhat as I'm going along.
Layers
I then separate each element to its own layer in Illustrator. ***Quick tip to do this in one step***: Select your art, and then in the layers palette, in the hamburger menu, select “Release to Layers (Sequence)”. It will automatically separate all the art into layers.
Texture
I open the Photoshop file and do an alpha lock on all the layers — this ensures I can only draw on top of the existing shapes.
I go through layer by layer and add bit of texture and color — easing transitions and refining it like a sculpture. I primarily use Kyle's Gauche Brushes.
The last step is add a layer of texture on top of the whole thing with a spatter brush and one final global color correction. I usually will do a curves adjustment or hue & saturation.
Each illustration takes between 2 - 3 hours.


