Product Design Case Study: The WalkFriend App

This case study presents how I went about designing a dog walking app while learning the Product Design process. Believe me, it has been amazing. As a developer, this project has been a mind-shifter for me. I came to realize how important user-centered design is and how to use it in a sane way. Dive in for more!
The Project, The Problem & The Goals
This is how it all began.
This was the primary hands-on project for the Dribbble Product Design Course. The goal was to design a Dog Walking application from scratch, going through the Product Design cycle.
The Research & The User Interview
Users first, market second.
We were provided with some starting research questions we were required to ask a few potential users (basically Dog Owners) and some questions from our side too. Then in one of our mentor sessions we brainstormed our findings and created a summary of our findings.
Then we started looking for existing solutions. What the existing solutions did right, what went wrongs, user testimonials, user reviews, their landing pages, etc.
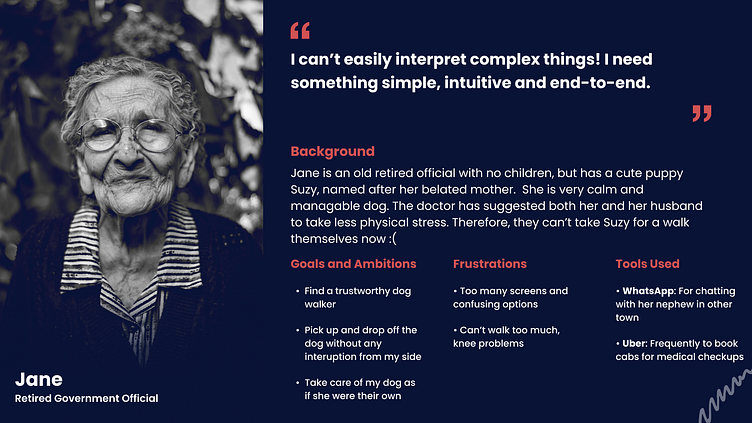
The Persona
We learned how to define a persona based on our user research and make design decisions keeping in mind this persona(s). Here is a look at my persona slide:
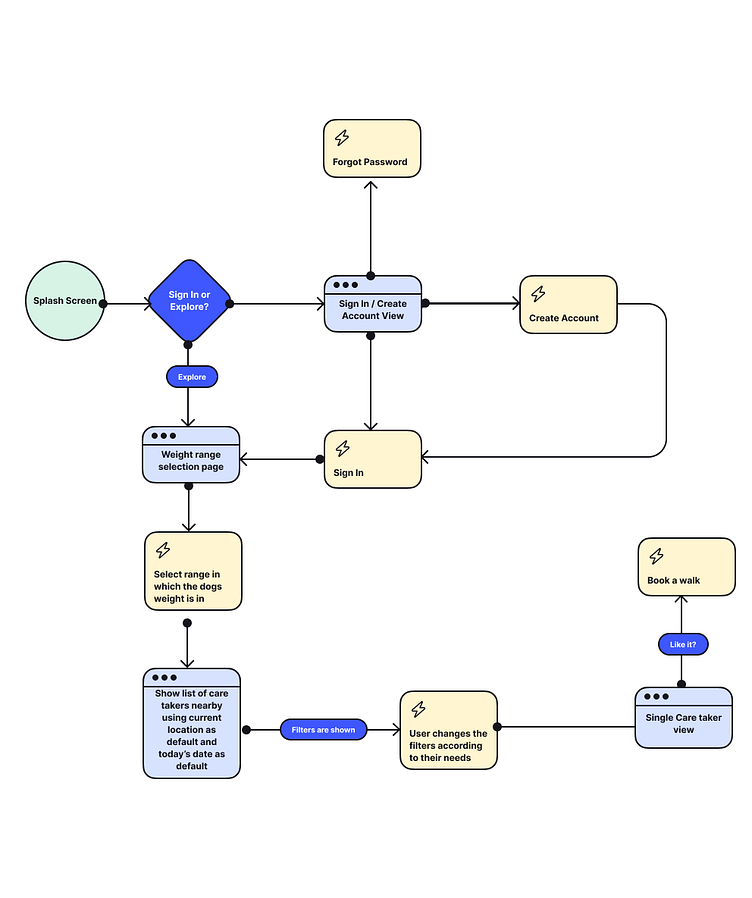
The User Flow & The Wireframes
This screen, that screen, so many screens!
We learned what user flows are and how to use them to get into the shoes of the user and map out the primary screens and actions starting from the splash screen. We were not required to map out all the things, but at least the Sign Up / Login In flow, finding dog walkers and booking. Here is peek at my version of the user flow:
The Visual Design
Making it beautiful.
I am one of the very few (or maybe the only one) students who went with a dark theme. They had valid reasons to go with a light theme, I could have too. But there are a few reasons for which I chose to go with a dark theme for my app design:
1. Dark mode is coming everywhere (YT, GitHub, and many more).
2. Dark hues are soothing to the eyes in my opinion. Also, less eye strain.
3. As a developer, I am too used to dark themes. Although, it is better to do more research for our specific target users.
The Mood board
During one of our mentor sessions, we started mood boarding before we start working on the visual / UI design stuff. I went on to Dribbble in order to look for shots that used dark as their primary themes. Also, I loved the design of the ShiftNudge website by MDS. Here is a peek at my Mood Board:
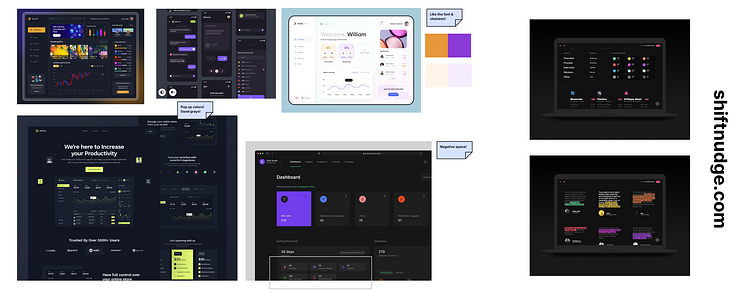
I annotated down things that I liked about each of the designs, which helped me get inspiration for UI elements, when I needed them.
Exploration
I started exploring a lot of variations for atomic UI elements like buttons, colors and fonts.
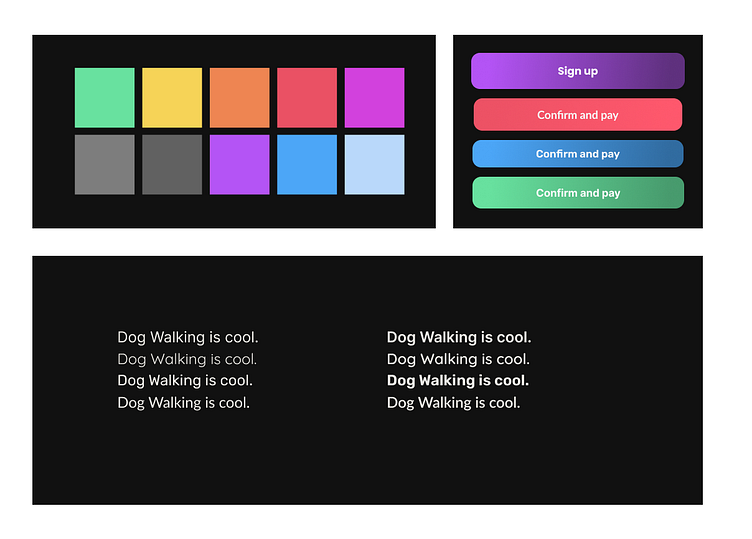
I played with colors that popped on the dark background and fonts that looked crisp.
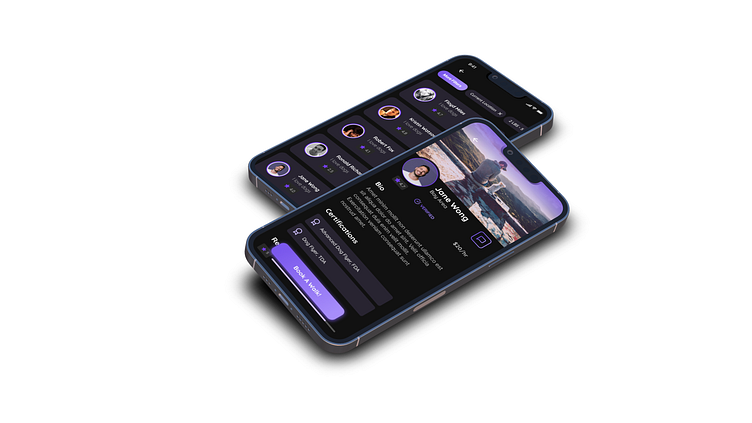
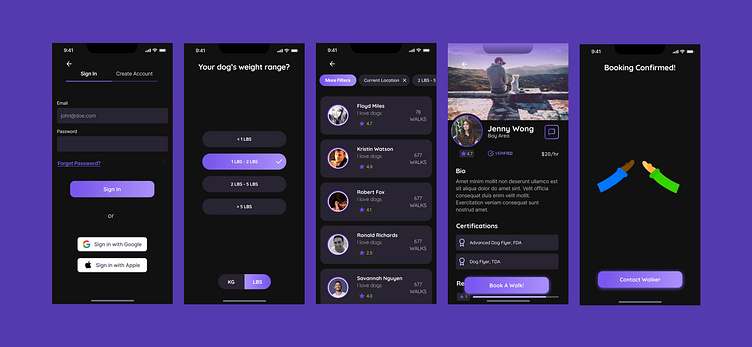
The End Result
I am proud of the end result, given it was my very first go at designing a User Interface from scratch. I have always been on the other side of the table, i.e. bringing Figma frames to life through code. It can be polished more, but given the scope and timeline, it's pretty decent in my opinion.
The Prototype, User Testing & Iteration
Iteration is the key my boy, iteration.
Figma has a lot of powerful prototyping features. This helped me to create an awesome clickable prototype that I can take for user testing. I did two user testing sessions, which in turn required 2 iterations of changes which I describe below. In a more real setting, I would have done at least 5-7 sessions.
I. User Testing 1
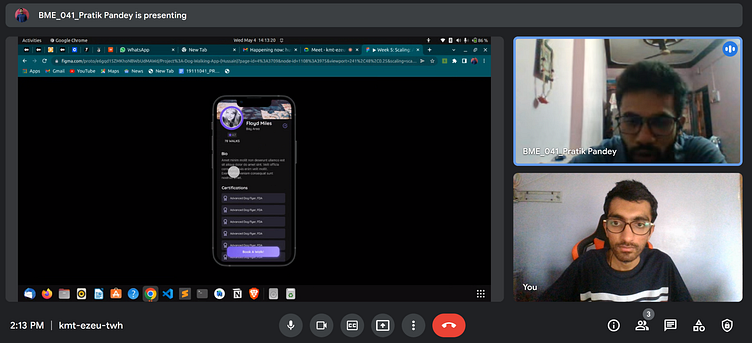
This was my first "real" user test. I called my friend and asked him to join a GMeet video call. Here are some notes from the call:
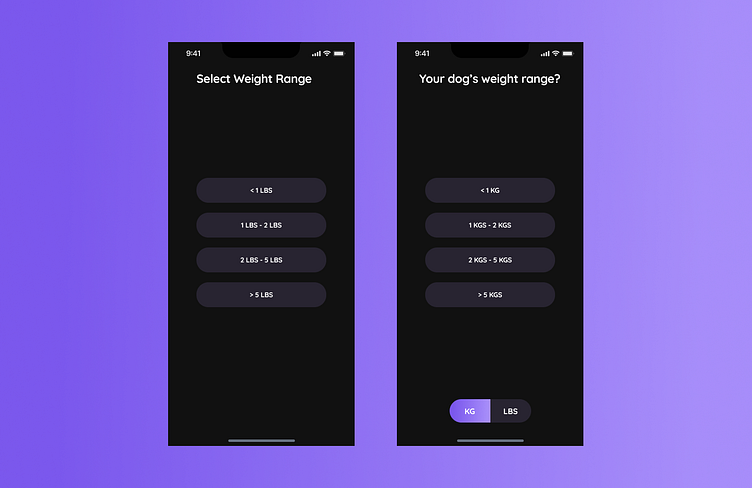
1. When he was in the weight selection screen, he got confused whose weight to select. I wonder why?
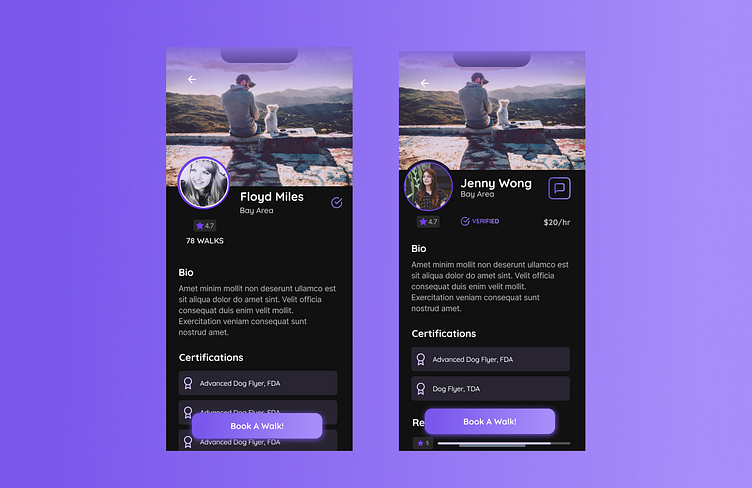
2. He was looking for some user reviews for the walker, which I hadn't included.
3. In the booking screen, he wanted to select the frequency and duration / distance per walk.
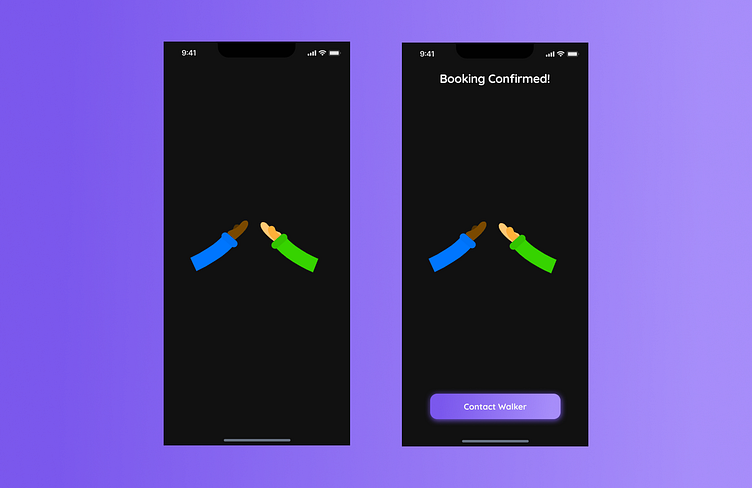
4. Wanted to contact the walker after booking, I had no feature designed for this yet.
5. Didn't get weight in pounds, wanted to see it in KGs.
6. Didn't get what the colored tick mark in profile meant.
II. User Testing 2
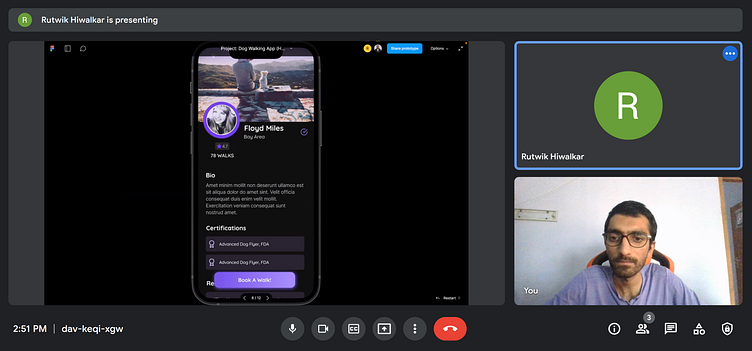
After making the changes based on feedback from the first test, I asked one of my colleagues to give it a go. Below are some points I noted in the second interview:
1. Rent / Pricing?? How can I forget this, I am guilty here.
2. He wanted to chat with the walker before proceeding with the booking.
3. He was not able to spot the address of the walker initially, I had to point it out.
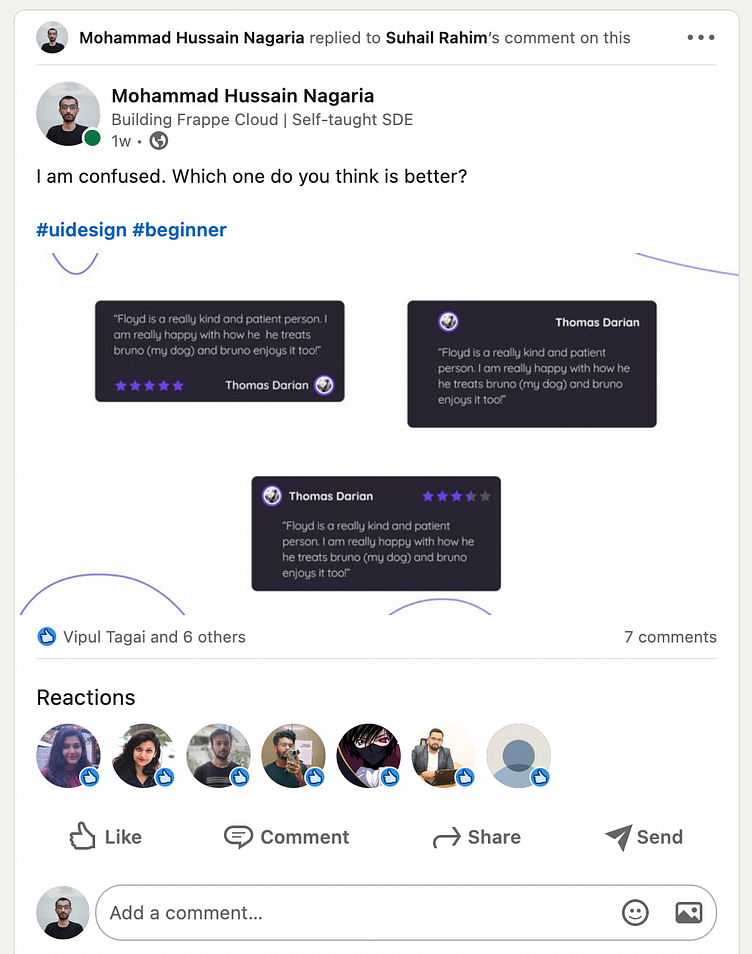
Apart from these two interviews, I used LinkedIn to get feedback on different iterations of components I designed, I will do it more in the future for sure.
Some Before & After Screens
Lessons Learned & Conclusion
This project has been the rocket ship that I required to start my Product Design journey. Here are a few very important things that I have picked up during this course:
1. Figma: Basically zero to something, something significant. I have many keyboard shortcuts by heart now. I have gotten a taste of many powerful features like Auto Layout, Styles, Components, Prototyping, Smart Animate etc.
2. The Product Design Process: Going through the whole process has been a great experience. I now know the key processes inside the Product Design process and understand what fits where.
3. A "little" improved eye for design.
4. Team work, developer hand-off and more.
and more. I have just scratched the surface though. There is a lot to learn and explore. I wish to continue building upon what I have learned and apply the skills to more and more real world problems and products.
Credits
1. Natalia Veretenyk for being an amazing mentor.
2. Frappe for being so flexible!
3. Dribbble for creating this amazing course.
4. Device Mockup created from iPhone mockups.
See you next time!