Once upon a time, two illustrators, Esther and Lienke, met at an animation studio. As it turned out, besides being able to share a good laugh, they also had a mutual love for painting murals. After a few successful collaborations, they officially joined forces and turned their love for murals into a business that still feels like one big passion project. Learn more about what it takes to create a mural as Esther and Lienke share their process.

We started Wallnuts Murals in 2017 as something we wanted to do outside of our usual type of work, which was mostly digital. We both work full-time as illustrators and designers with a focus on illustrating, hand lettering, and character design. Wallnuts gave us the perfect opportunity to get our hands dirty away from the computer.
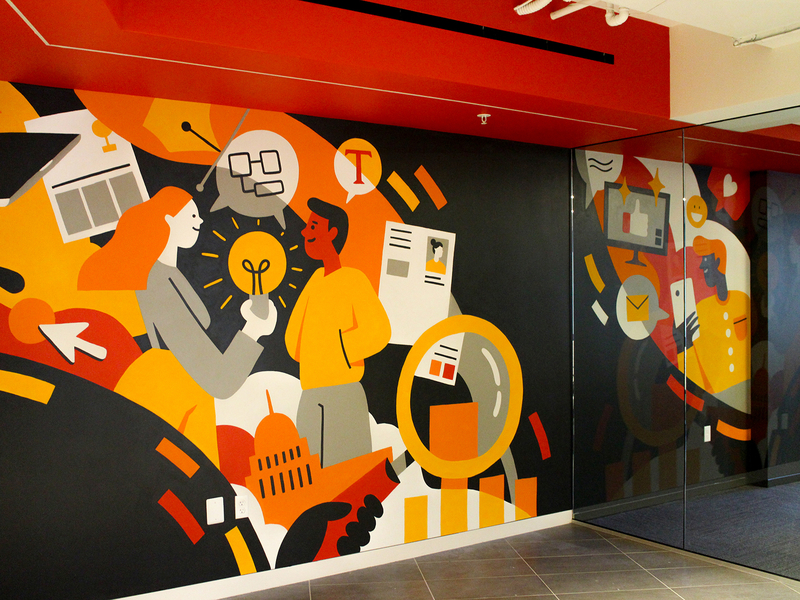
The type of mural commissions we get are slowly starting to get bigger and little by little, they are becoming more global. We’ve just finished four murals in Washington DC and are currently working on a proposal for a company in Milan! It’s an absolute dream being able to combine work and travel like this.
The process of creating a wall mural can be divided almost equally between preparation and the actual painting phase. People often ask us if we just freestyle our murals directly on the wall, but that’s definitely (or maybe unfortunately) not the case. In this post, we’ll break down our general process for creating a mural—from concepting all the way to final execution. Let’s jump in!
Step 1: Concepting
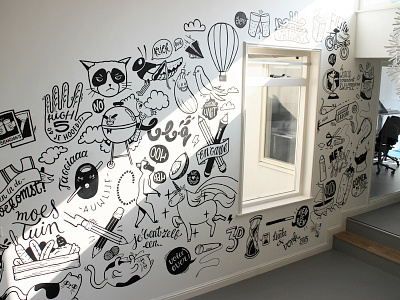
We start by asking clients if they already have a concept in mind for the mural. When we begin planning the design with little illustrations and lettering ideas, we also ask for an input list. This list consists of client and/or company-related quotes, inside jokes, stories, and weird memes. We’ve illustrated some pretty hilarious ideas like a dancing drunk pickle, or a poop emoji on a bed of rice!
The input list or briefing is the starting point for brainstorming all of the possibilities and concepts. At this stage, we also propose the color palette we have in mind, often based on the client’s brand or the environment of the wall.
Step 2: Sketching and iterations
Since most clients prefer to know what’s going to be drawn on their precious (often freshly painted white) wall, we combine our ideas into a full sketch that mirrors how everything will be arranged on the final mural design. This way, we can nitpick the details, adjust things based on feedback, and add some last-minute requests from that one person who has a very strong opinion but somehow wasn’t involved in the project up until now!

Step 3: Material prep
When the design is officially approved, we start preparing the materials we’ll need for the mural painting process. We connect with a painting company and provide them with the specific color codes needed to mix our paint. We also use Molotow markers for outline work. Besides that, we fill our bags with pencils, erasers, sharpeners, tape, rope, rulers or measuring tape (in the metric system which was a bit problematic in the US), brushes, cups, our Go Pro camera, and plenty of cookies.
Step 4: Time to paint
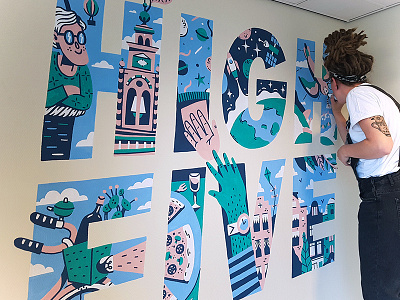
Painting days are an absolute dream. We work from a grid to transfer our sketches to the wall. This part can be a bit of a puzzle, but once we start running our brushes or markers slowly on the surface it’s almost hypnotizing. It’s truly an amazing feeling.
Of course, sometimes we run into a few issues—like finding out our client has prepared the wall with some sort of water (and thus marker) repellent paint. Or the wall is actually some sort of plastic retention wall, which doesn’t work either. But we’ve learned from all of this, so now we make sure to double check that the wall we are working with is suitable to be painted on. We try to visit the wall beforehand to feel it out, but if that’s not possible, we ask for a few close-up photos so we can examine the details.
We usually spend long days (between 8 - 12 hours) painting, but it never feels this long. Once the design starts to come together, it’s actually really hard to stop working! When the mural is finally complete, we take a step back and enjoy the finished piece. It’s an incredibly rewarding feeling.
Dreaming bigger…
Our trip to Washington DC was awesome and we would love to combine work and travel more often. Also, working on larger walls (maybe outdoors?) is on our wishlist, although we know that this would require a completely different approach. It would be a nice challenge!
Style-wise, we would like to try a more abstract or geometric approach combined with illustration and we’d love to do some bigger lettering-based jobs.
Another dream of ours is discovering the perfect paint—one that’s opaque in a single stroke and dries completely smooth for every color available (yes, some colors are more opaque than others even when using the same type and brand). For this last one, we’re afraid we’ll have to keep dreaming!

Wallnuts is a mural collective from Amsterdam consisting of Lienke and Esther. Our main focus is making murals, but we also draw on windows, skateboards, chairs, fridges, you name it. Keep up with us on Dribbble and Instagram, and check out more of our work on wallnutsmurals.com.
Fore more mural art inspiration, check out 36 strikingly beautiful mural art Shots to inspire you!
Find more Process stories on our blog Courtside. Have a suggestion? Contact stories@dribbble.com.


